
How to Upload Files
Uploading files on MediaFire is simple. Once you’ve created your account just log in to get to your “My Files” page and then follow the steps below.
Upload files from your computer:
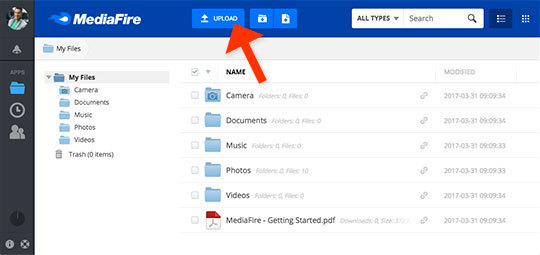
Step 1: Log in. From your My Files page, click the “UPLOAD” button in the header.
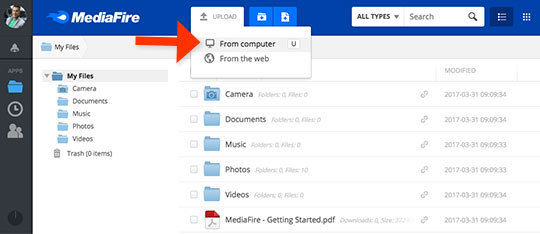
Step 2: Click “From Computer” to choose files from your computer. (Need web uploads? We’ve got those covered on a super-awesome Pro account subscription.)
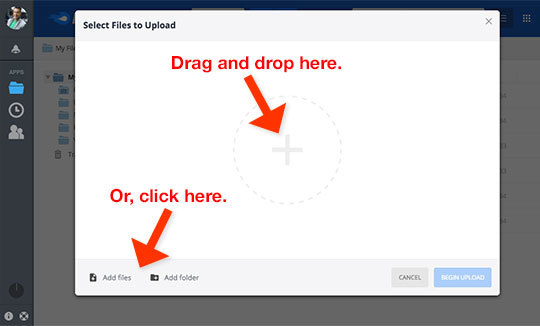
Step 3: You can either drag and drop files from your computer, or click one of the options on the bottom to choose a file (or entire folder) from your computer.
Step 4: Choose the files or folders you want to upload from your computer and then click ‘Open’ to add the files to the uploader.
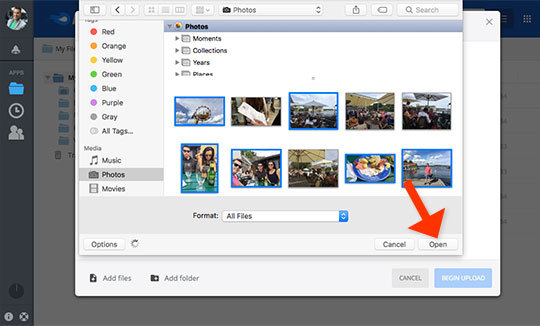
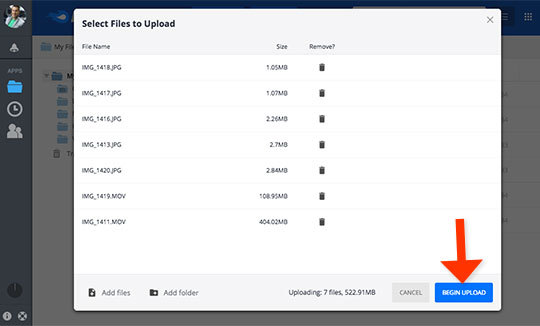
Step 5: Click “BEGIN UPLOAD” to start uploading your files to your MediaFire account.
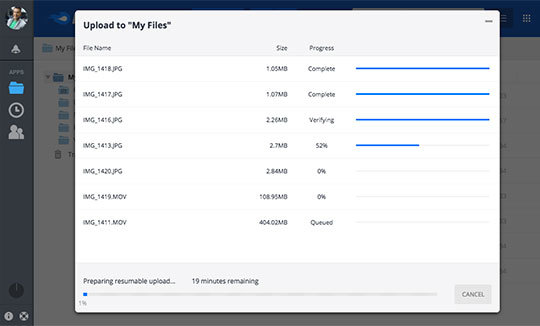
Your files will now upload. Like magic. Make sure you keep your browser tab open until the upload is complete.
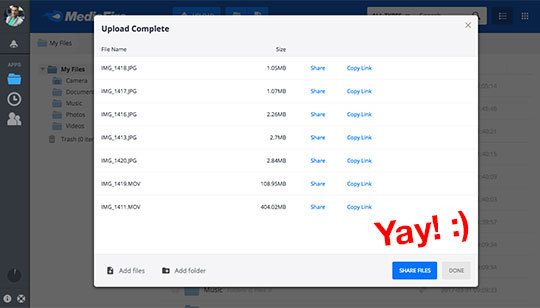
That’s it! Give yourself a high-five. Or a fist bump.
Your files are now uploading into your MediaFire account, where you can share and organize them. How? We’ll get into that tomorrow!
Newly uploaded files are highlighted in blue on the left side of their row and placed (temporarily) at the top of your file list.

Got everything on your phone? You can also upload files by using our mobile apps for Android and iOS. For the still slightly confused, or if you’re just a fan of thoroughness, here’s a more detailed article.
Need more space for all your files? Check out a pro account that gives you a whole terabyte of space. Or a business account with a crazy 100 TBs.
And if you ever need more personalized help, we’re totally here for you. Our customer support team is just a click away – submit a ticket.
Happy uploading!